2018 Autel Scanner
Autel MaxiCOM MK808TS Auto TPMS Relearn Tool Universal Tire Sensor Activation Pressure Monitor Reset Scanner Programming MX-Sensor Service OBD Diagnostic Tool with Oil Reset EPB SAS BMS Immobilizer
Autel MaxiCOM MK808TS Auto TPMS Relearn Tool Universal Tire Sensor Activation Pressure Monitor Reset Scanner is a one of our 2018 Autel Scanner Tools, you can buy Autel MaxiCOM MK808TS Auto TPMS Relearn Tool Universal Tire Sensor Activation Pressure Monitor Reset Scanner from chinaobd2.com.
Wholesale Top quality BENZ ECOM DoIP Diagnostic and Programming Tool, Super DSP3+ Odometer Correction Tool, VAS 5054A ODIS GM Tech2, Scania VCI3
images of Autel MaxiCOM MK808TS Auto TPMS Relearn Tool Universal Tire Sensor Activation Pressure Monitor Reset Scanner
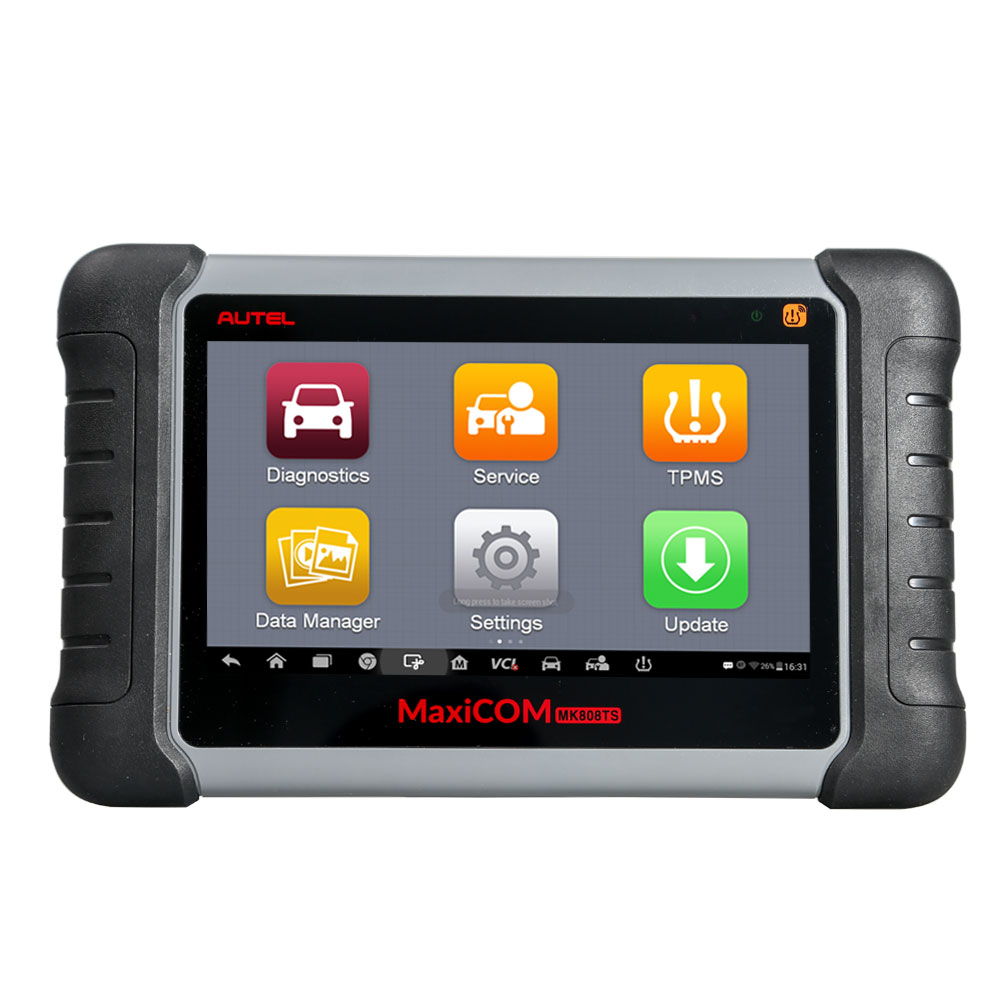
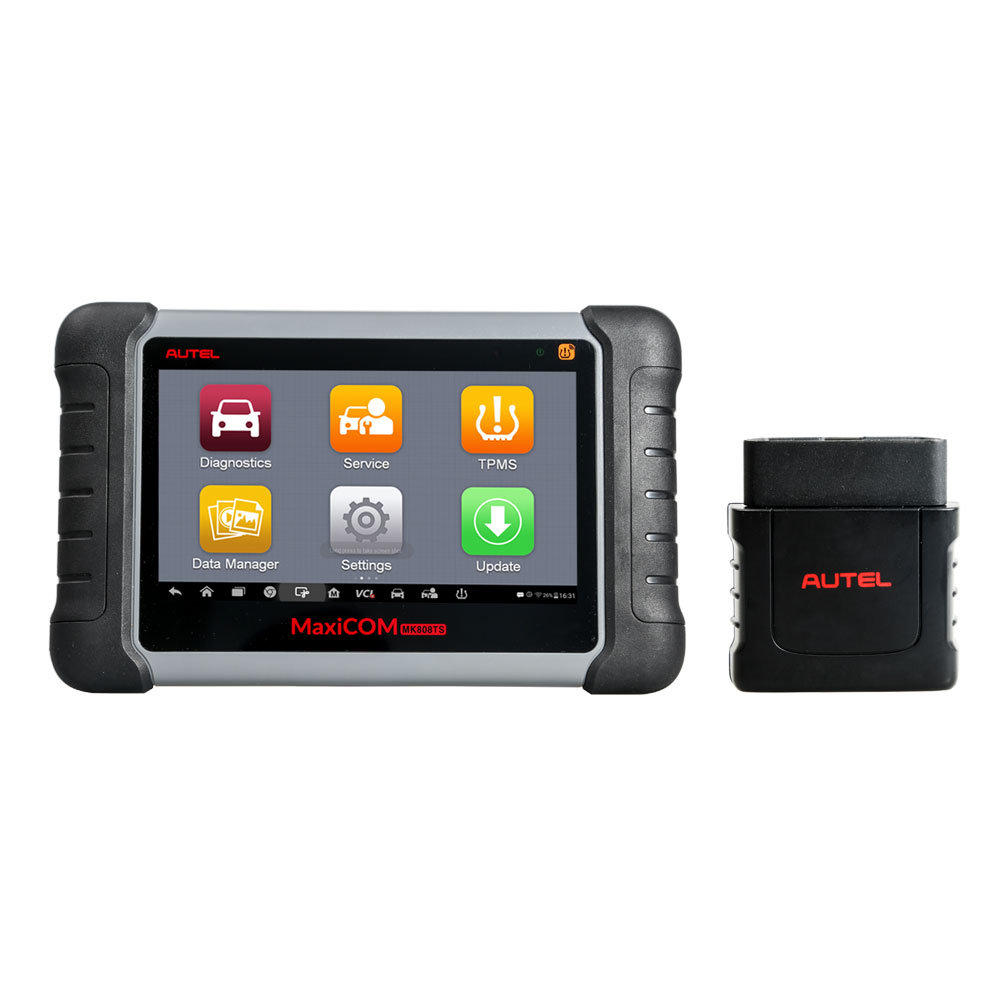
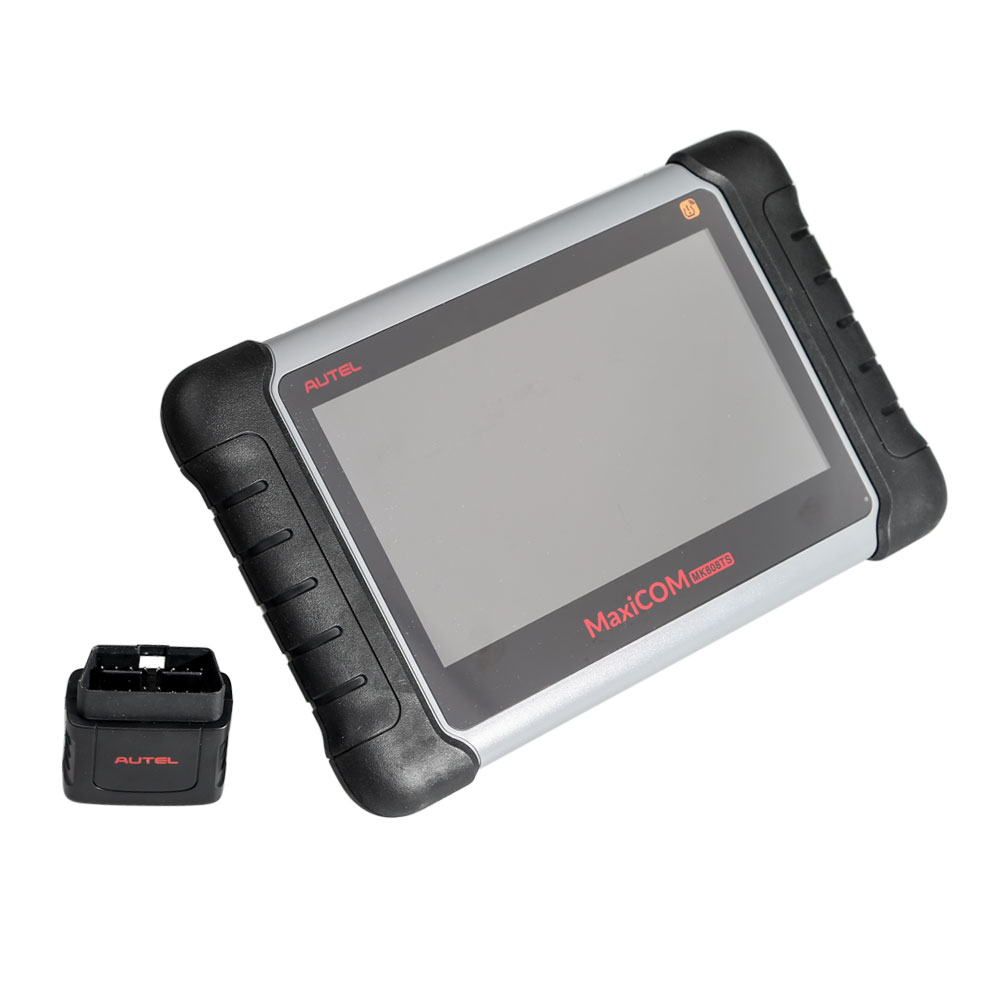
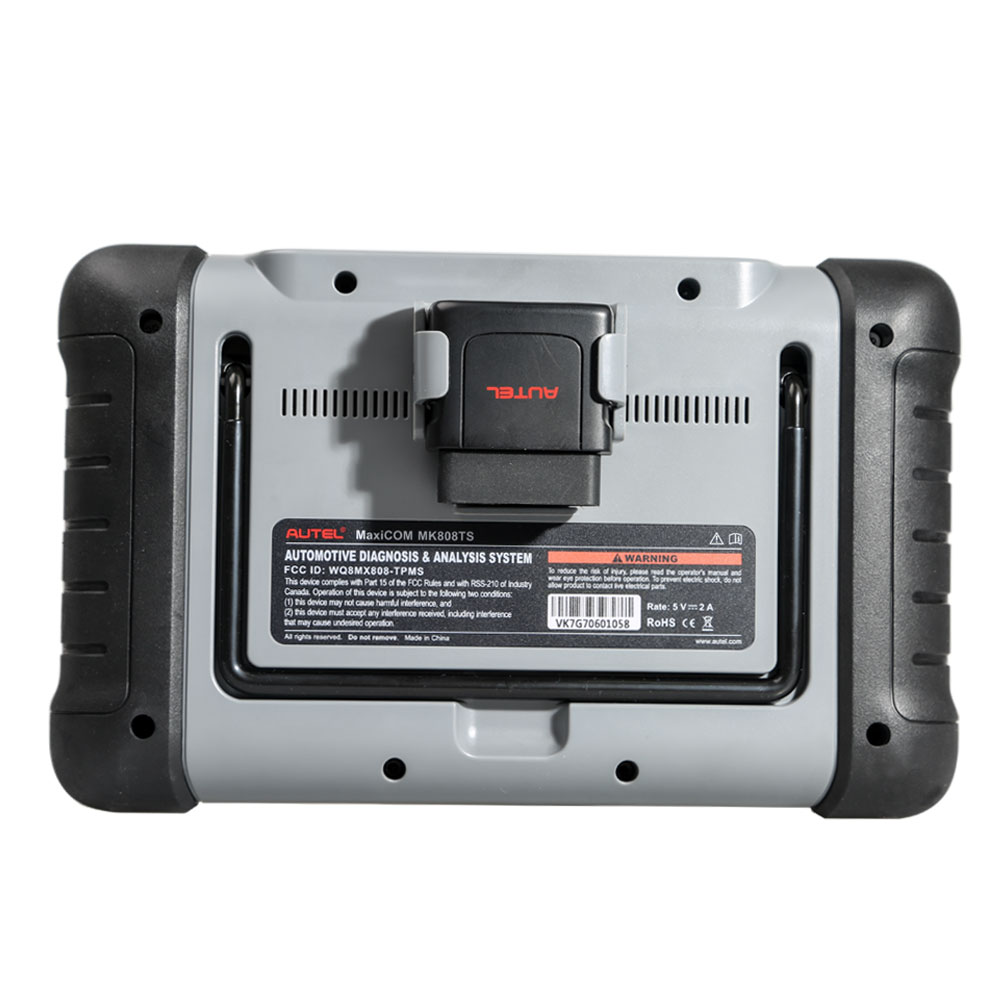
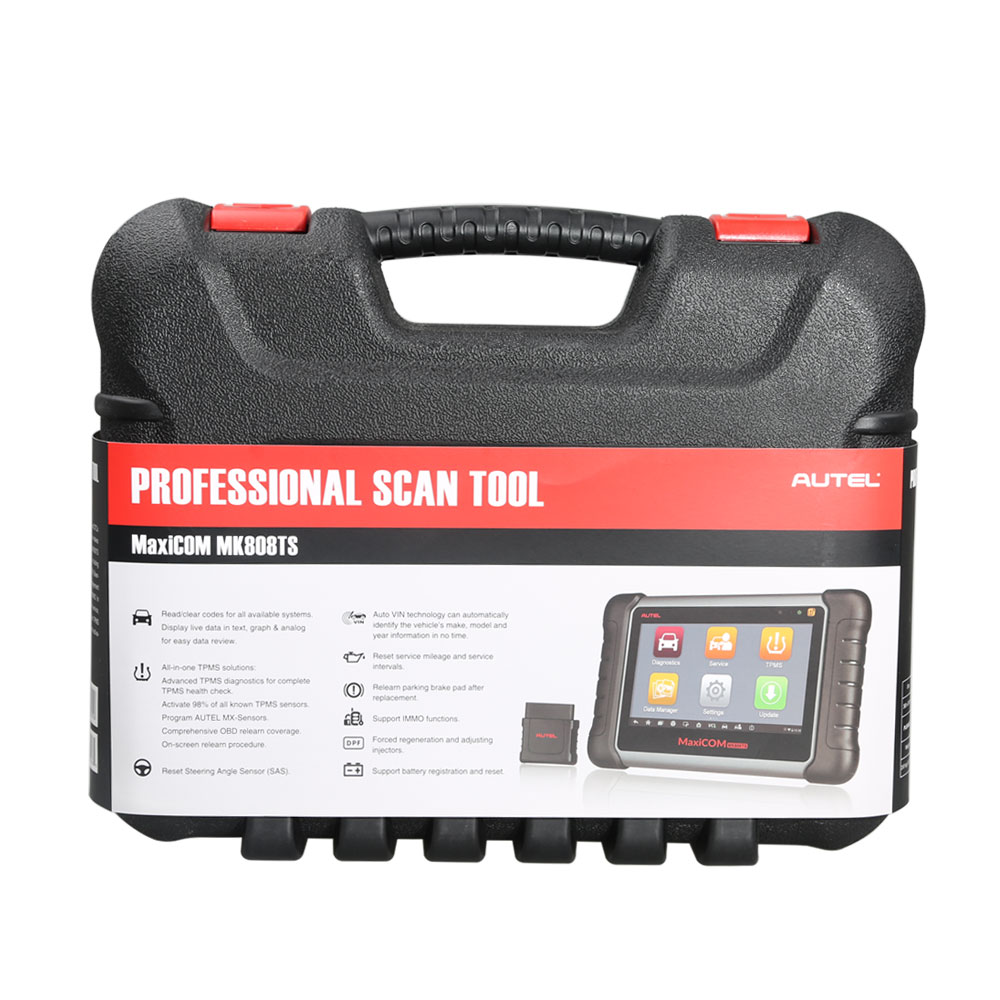
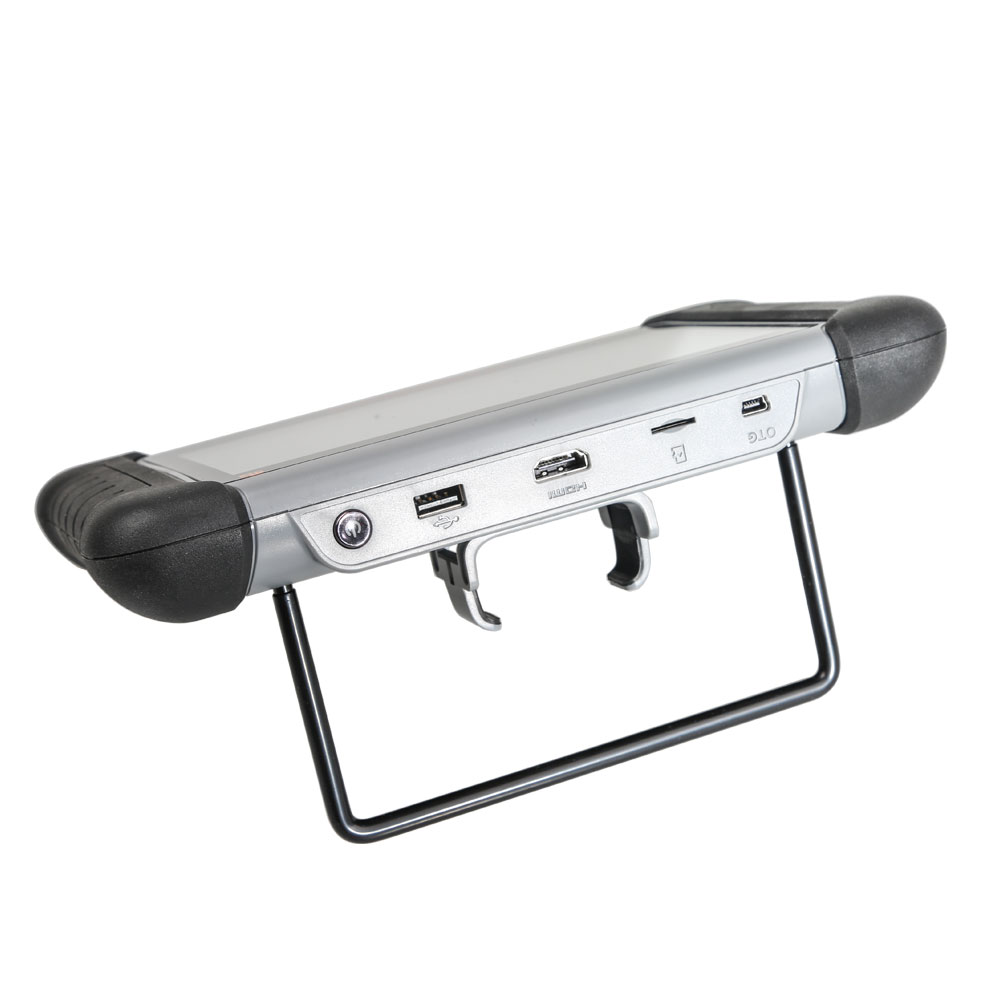
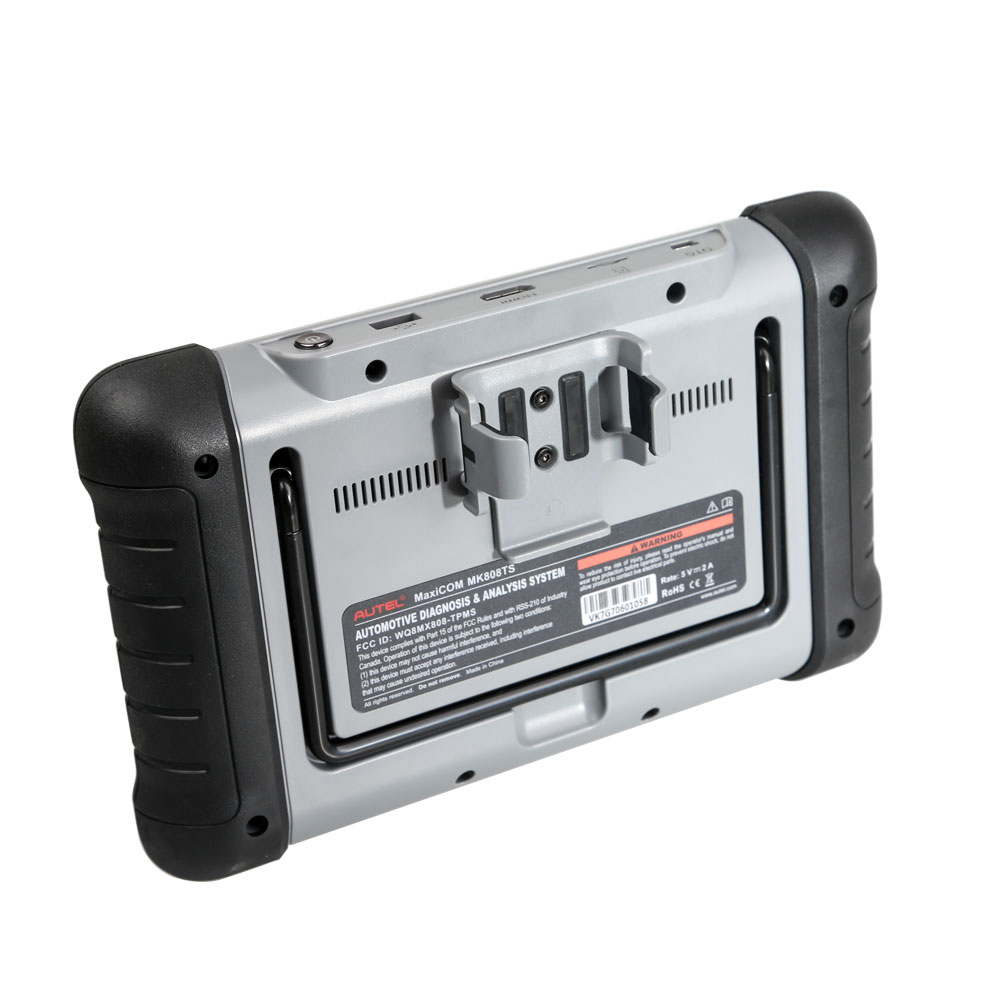
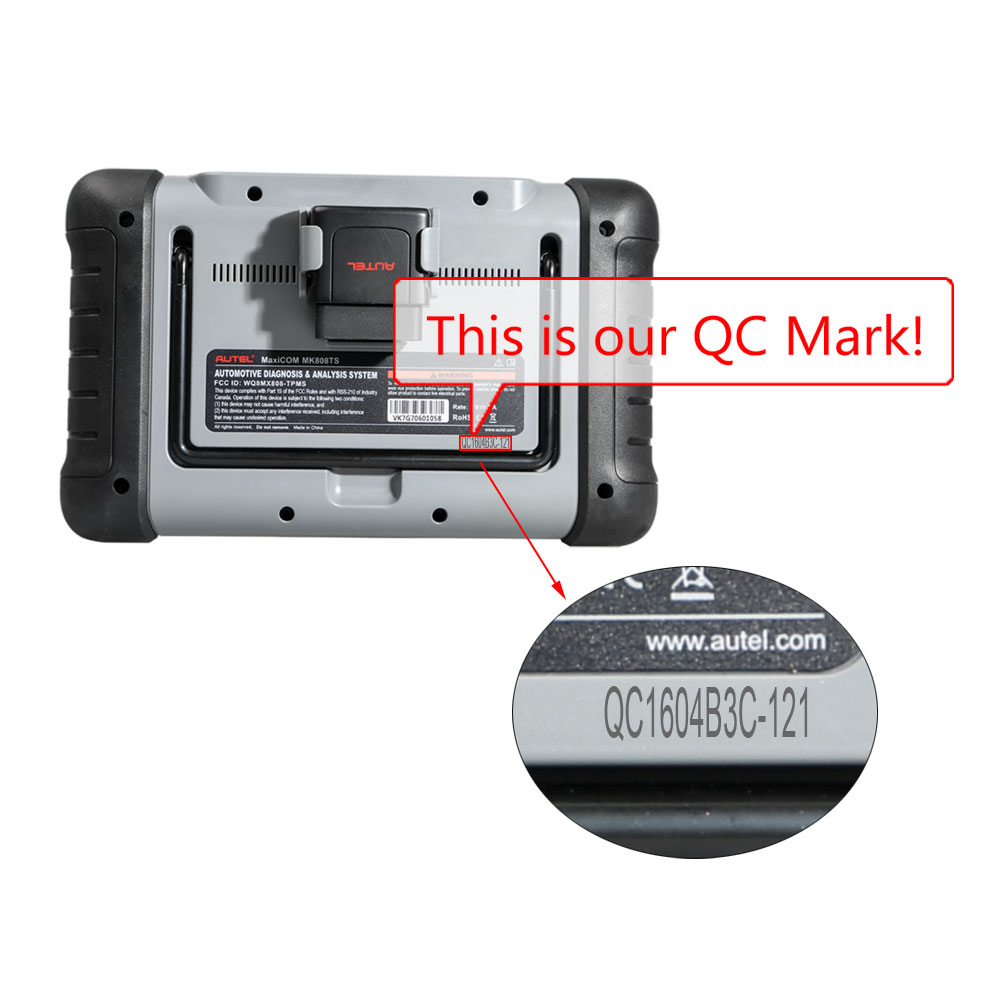
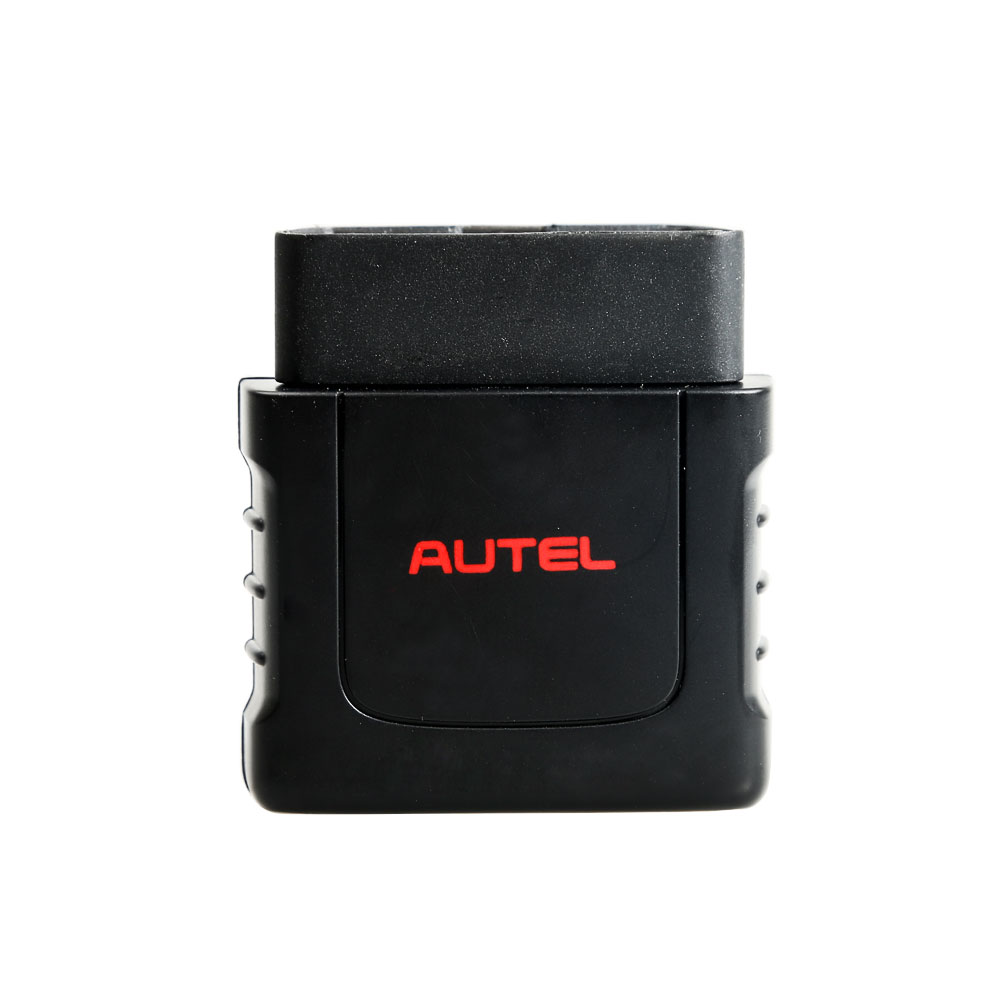
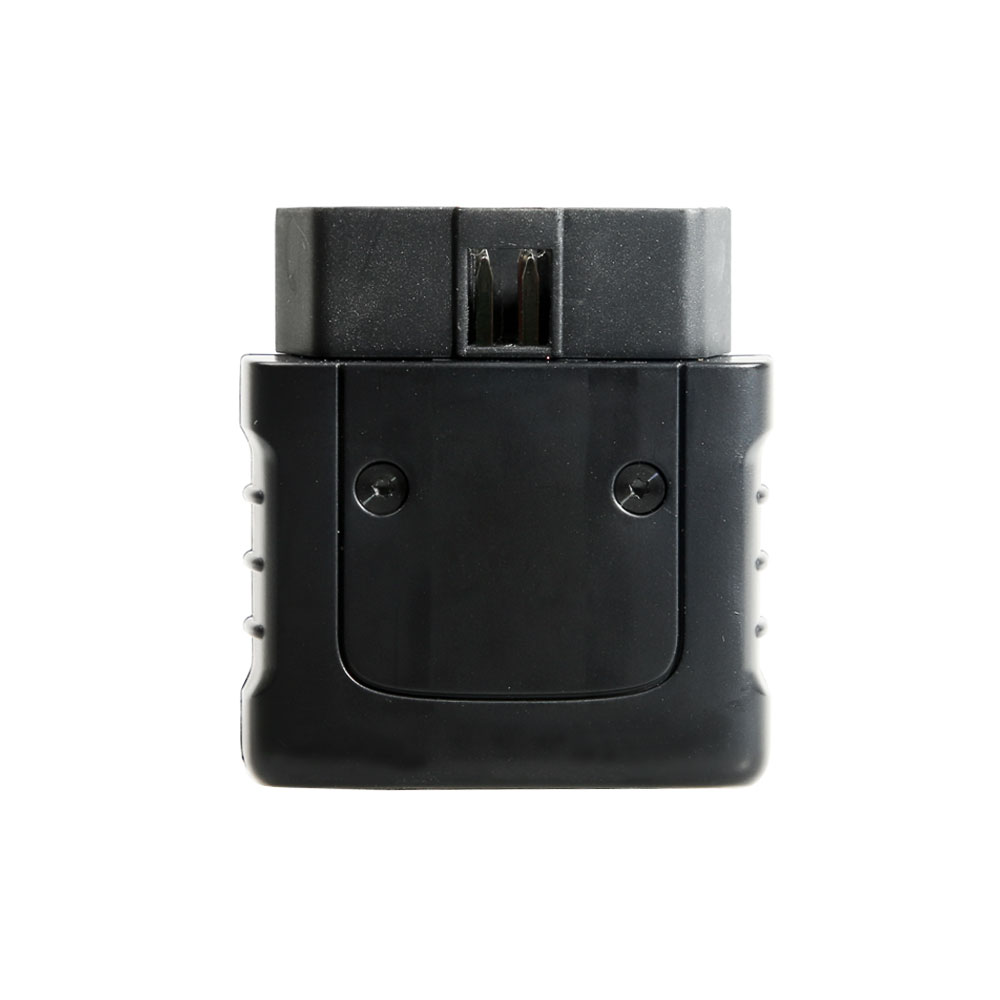
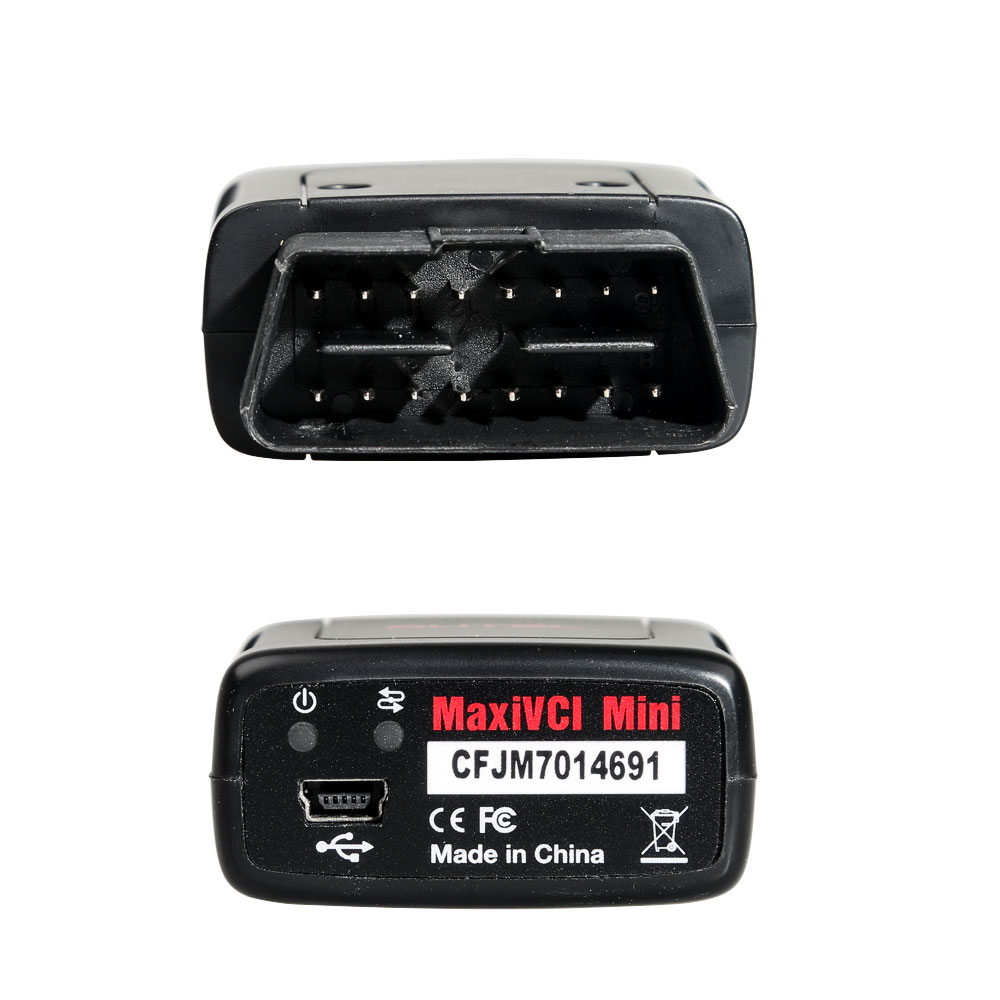
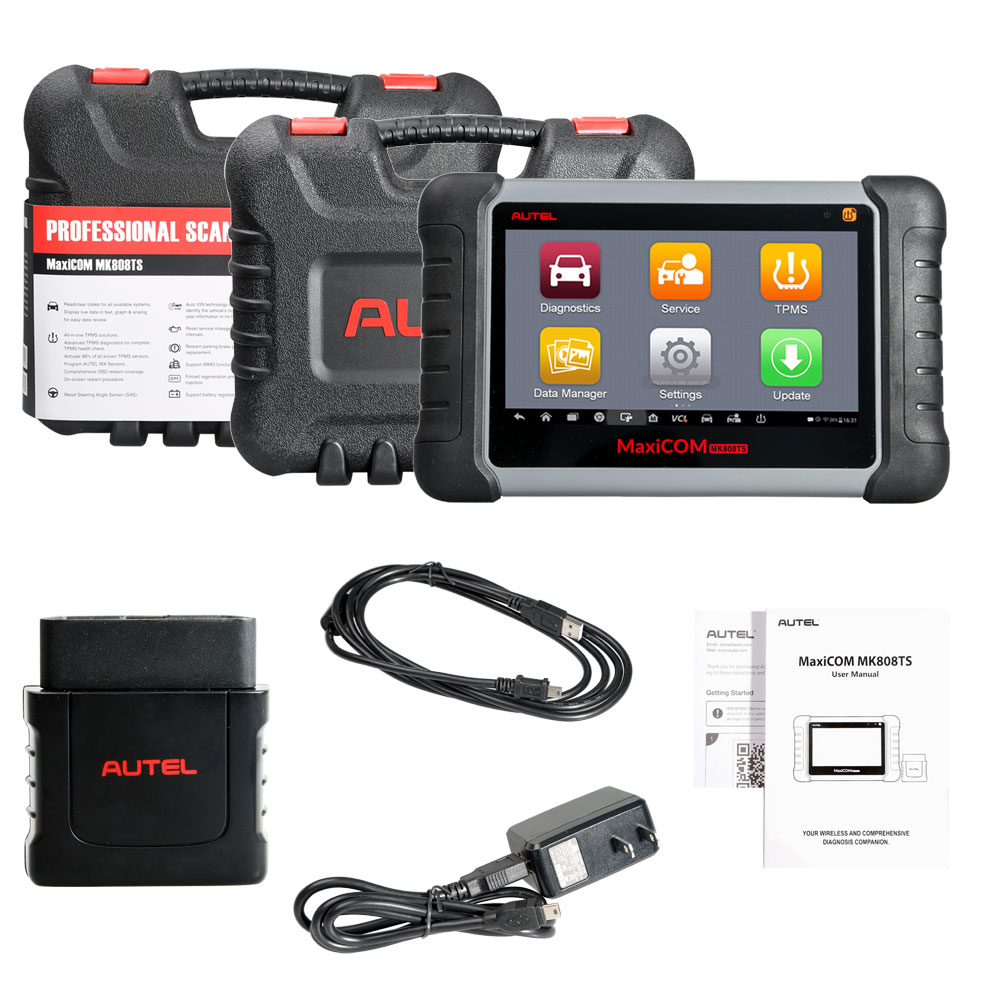
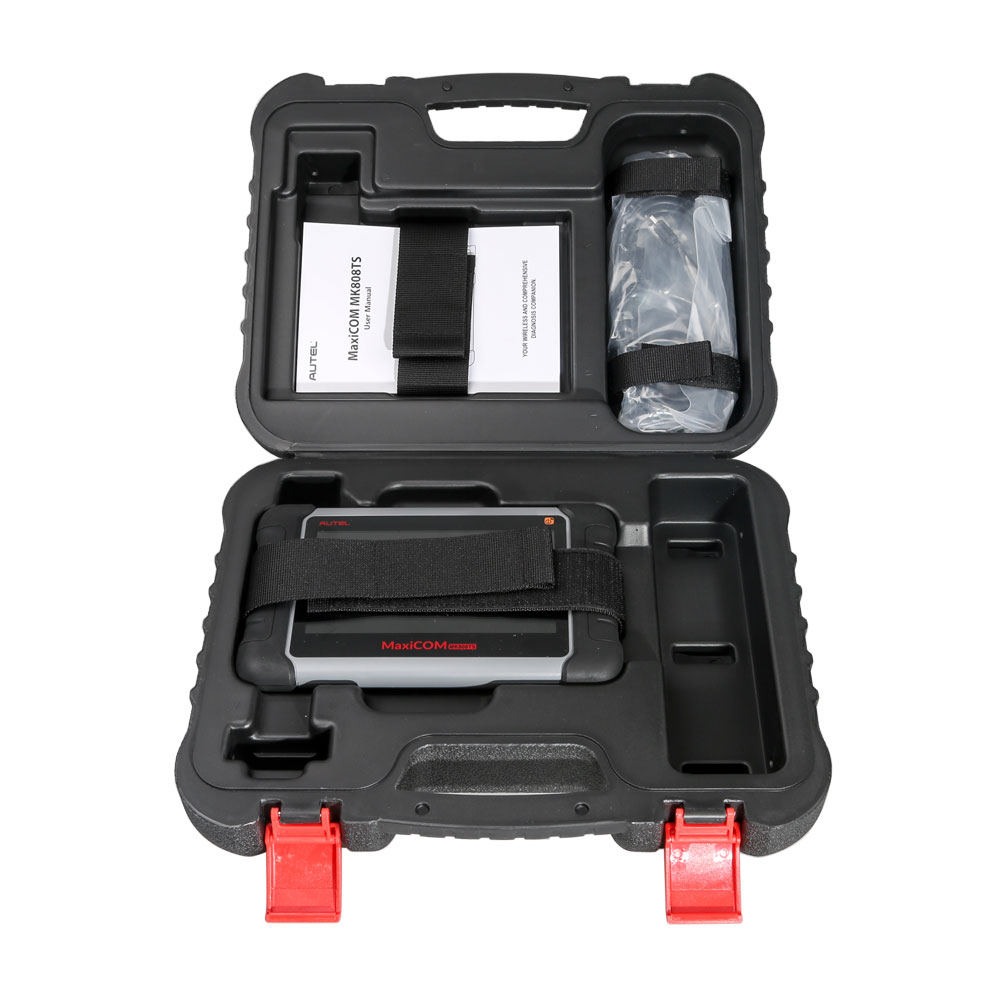
Autel MaxiCOM MK808TS Auto TPMS Relearn Tool (=Maxicheck Pro + TS501)
Autel MaxiCOM MK808TS Product description
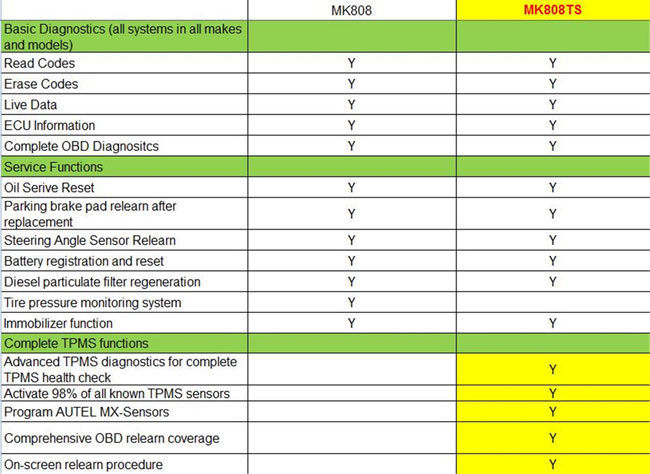
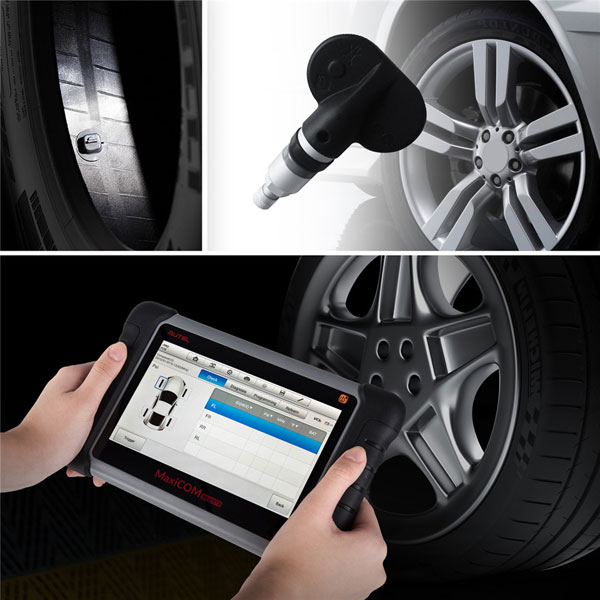
Together with the ability to quickly read and clear DTCs for all available modules of the majority of the makes and models on the market, MaxiCOM MK808TS provides you with superior special functions, including Oil Reset, EPB (Electronic Parking Brake), SAS (Steering Angle Sensor), BMS (Battery Management System), DPF (Diesel Particulate Filter) and IMMO. In addition to OBD II diagnostics and special service, MK808TS enables you to carry out complete TPMS functions, including TPMS health check, sensor activation & programming and TPMS relearn. Complete TPMS Functions:
Advanced TPMS diagnostics for complete TPMS health check
Activate 98% of all known TPMS sensors
Program Autel MX-Sensors
Comprehensive OBD relearn coverage
Onscreen relearn procedure
Multi-Language: English, Traditional Chinese, French, German, Spanish, Portuguese, Dutch, Polish, Swedish, Korean, Russian, Italian.
English as default, pay for the other language reset (US$120 for each).
Basic Diagnostic Functions for All Systems:
Read/clear codes for all available systems.
Display live data in text, graph ,analog for easy data review
ECU information
MaxiCOM MK808TS OBD Diagnostic Functions:
Read/erase codes
View live data
View freeze data
View I/M readiness status
View vehicle information
O2 monitor test
ON-board monitor test
Component test
Modules present
DTCs help
Autel MK808TS Service Functions:
Oil service reset
Parking brake pad after replacement
Steering Angle Sensor (SAS)
Battery registration and reset
Diesel particulate filter regeneration
IMMO functions
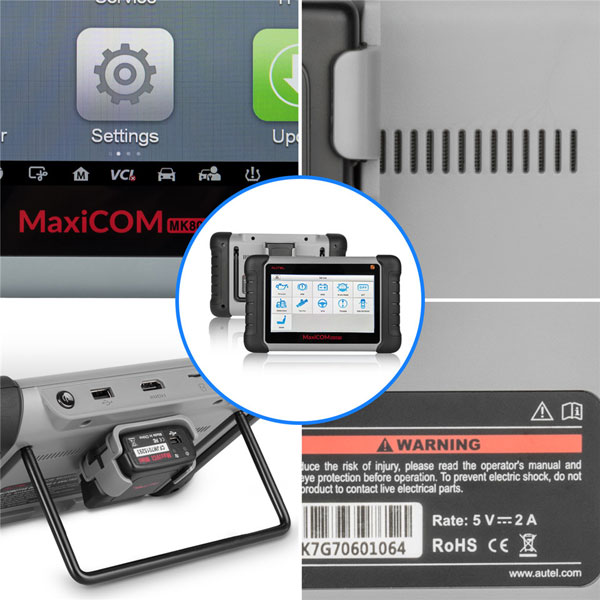
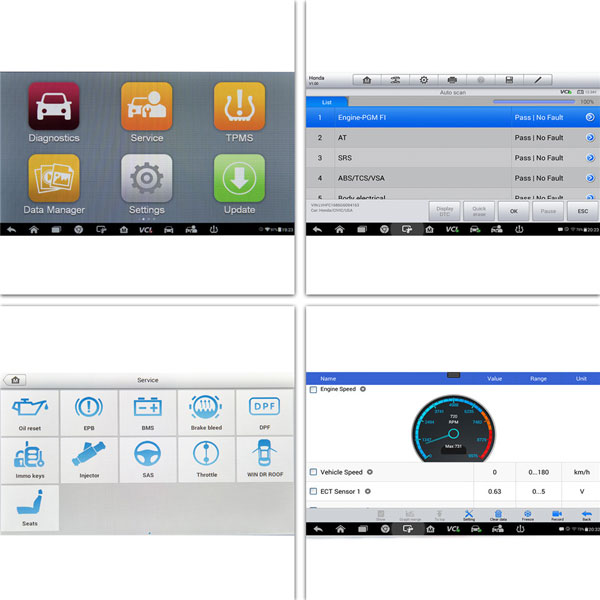
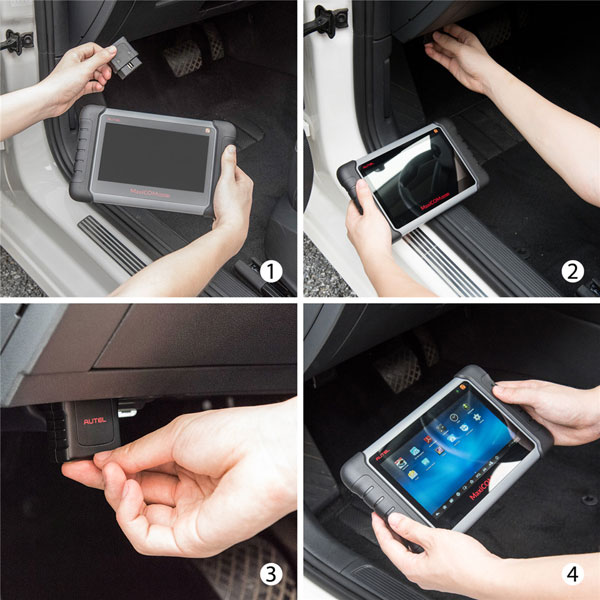
Autel MaxiCOM MK808TS Functional Descriptions:
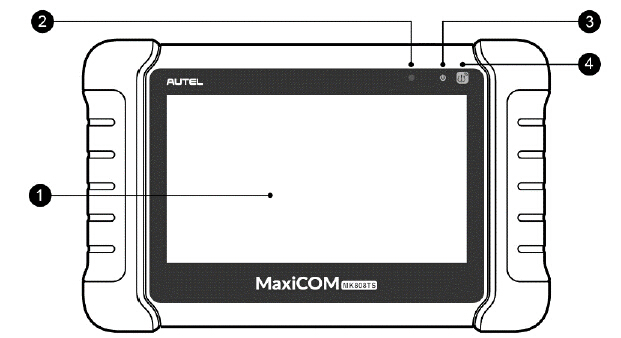
1.7.0" LCD Capacitver Touchscreen
2.Ambient Light Sensor-detects ambient brightness
3.Power LED-indicates battery level & charging or system status.
4.TPMS Service Sympbol-indicates the position of the embedded TPMS antenna.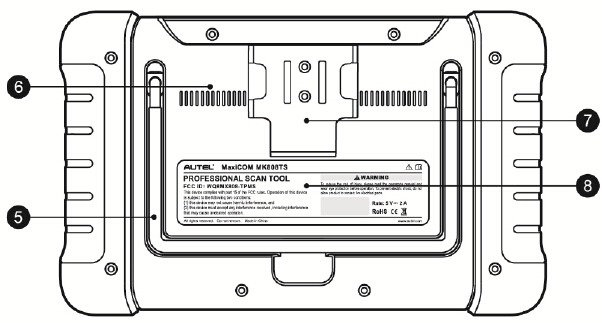
5.Collapsible Stand-extends from the back to allow hands-free viewing of the Display Tablet
6.Heat Sink
7. MaxiVCI Mini Holder
8.Built-in Battery
9.Mini USB OTG Port
10.Micro SD Card Slot-holds the micro SD card.
11.HDMI(High-Definition Multimedia Interface) Port
12.USB Port
13.Lock/Power Button-turns the device on & off with long press,or locks the screen with short press.
How to Update Autel MaxiCOM MK808TS?
Software Update:
Note:Make sure the diagnostic tablet is connected to the internet and the tablet has sufficient battery or is connected to a power source.
Step 1:Tap the Update application button from the Diagnostic Job Menu and the Update screen displays.
Step 2:Check all available updates:
a)if you want oto update all the items,tap the "Update All" button
b)if you want to update one or some of the item,tap the "Update" button on the right column of the specific item(s).
Step 3:Tap "Pause" to suspend the updating process.Tap "Continue" to resume.
Step 4: When the updating process is completed,the software will be installed automatically.The previous version will be replaced.
MaxiVCI Mini Firmware Update:
Method 1:
Step 1:Connect the MaxiVCI Mini to a PC using a USB cable.
Step 2:Run the "PC Suite" on the computer which is installed after the installtion of Maxi PC Suite and click MaxiVCI Mini icon on the Device Selection window.
Step 3:The driver will automatically detect the updates of the device.
Step 4:Click "Update" to complete the operation if an update is available.
Method 2:
Step 1:Connect the MaxiVCI Mini with the Diagnostic Tablet using a USB cable.
Step 2:Tap VCI Manager from the Diagnostics Job Menu,and then Update to complete the operation if an update for the MaxiVCI Mini is available.
How to use Autel MaxiCOM MK808TS?
Step 1:Visit official website:www.autel.com,then create an Autel ID and register the product with device's SN and password.
Step 2:Insert the MaxiVCI Mini into the vehicle's DLC,which is generally located under the vehicle dash.
Step 3:Long press the Lock/Power button to turn on the Diagnostic Table.
Step 4:Pair up the Diagnostic Table with the VCI device via Bluetooth to establish a communication link
When the VCI device is properly connected to the vehicle and the Diagnostic Tablet,the VCI status button at the buttom bar on the
display screen shows a green tick at the corner.This indicates your Diagnostic Tablet is ready to start vehicle diagnosis.
Autel MK808TS Specifications
Recommended Use: Indoor
Operating System: AndroidTM 4.4.2, KitKat
Processor: Cortex-A9 processor (1.5 GHz)
Memory: 32GB
Display: 7-inch LCD capacitive touchscreen with 1024 x 600 resolution
Connectivity: Mini USB 2.0/USB 2.0/Wi-Fi/HDMI Type A/Micro SD card (supports up to 32GB)
Sensors: Light sensor for brightness auto changing
Audio input/output: Input: N/A Output: buzzer
Power and Battery: 3.7 V/5000 mAh lithium-polymer battery Charges via 5 VDC power supply
Tested Battery Life: Around 7 hours of continuous use
Battery Charging Input: 5 V/1.5 A
Power Consumption: 600 mA (LCD on with default brightness, Wi-Fi on) @3.7 V
Operating Temp: 0 to 55°C(32 to 131°F)
Storage Temp: -20 to 60°C (-4 to 140°F)
Operating Humidity: 5% - 95% non-condensing
Dimensions : 270.8 mm (10.0”) x 176.0 mm (6.9”) x 36.0 mm (1.4”)
Net Weight: 885 g (2.31 lb.)
Protocols: ISO9141-2, ISO14230-2, ISO15765, K/L-Line, Flashing Code, SAE-J1850 VPW, SAE-J1850PWM,
ISO11898 (Highspeed, Middlespeed, Lowspeed and Singlewire CAN, fault-tolerant CAN), SAE J2610,
GM UART,UART Echo Byte Protocol, Honda Diag-H Protocol, TP2.0, TP1.6
Autel MK808TS package List:
1 pc *Autel MK808TS1 pc *MaxiVCI Mini
1 pc *USB Cable (for test)
1 pc *USB Cable (for charging)
1 pc *USB External Power Adapter_test
1 pc *User Manual
1 pc *Quick Reference Guide
1 pc *Carry case
Autel MaxiCOM MK808 vs. MK808TS
